
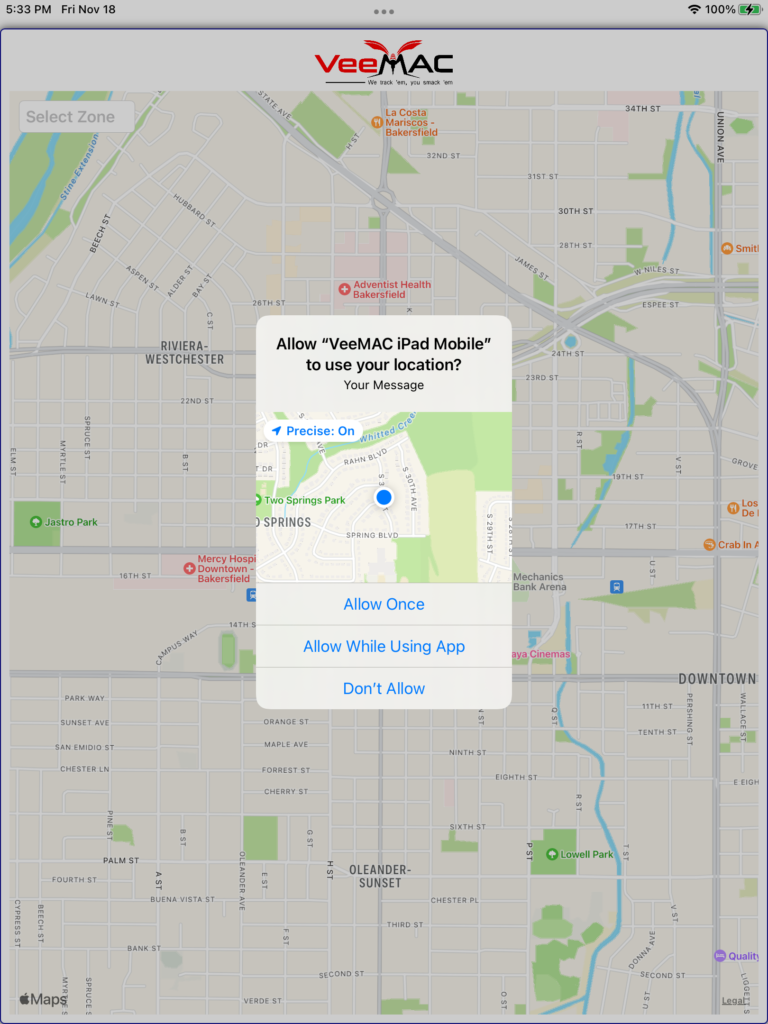
Once VeeMAC Mobile is installed on the iPad, on the initial startup the user will be prompted with a couple of setup steps. First, the user is prompted for permission to use location services. Location services are used by the app to show the users location on the map relative to service locations displayed on the map and to allow the app to send the devices current location to the central server for display on system devices.
When prompted as below, select “Allow While Using App”.
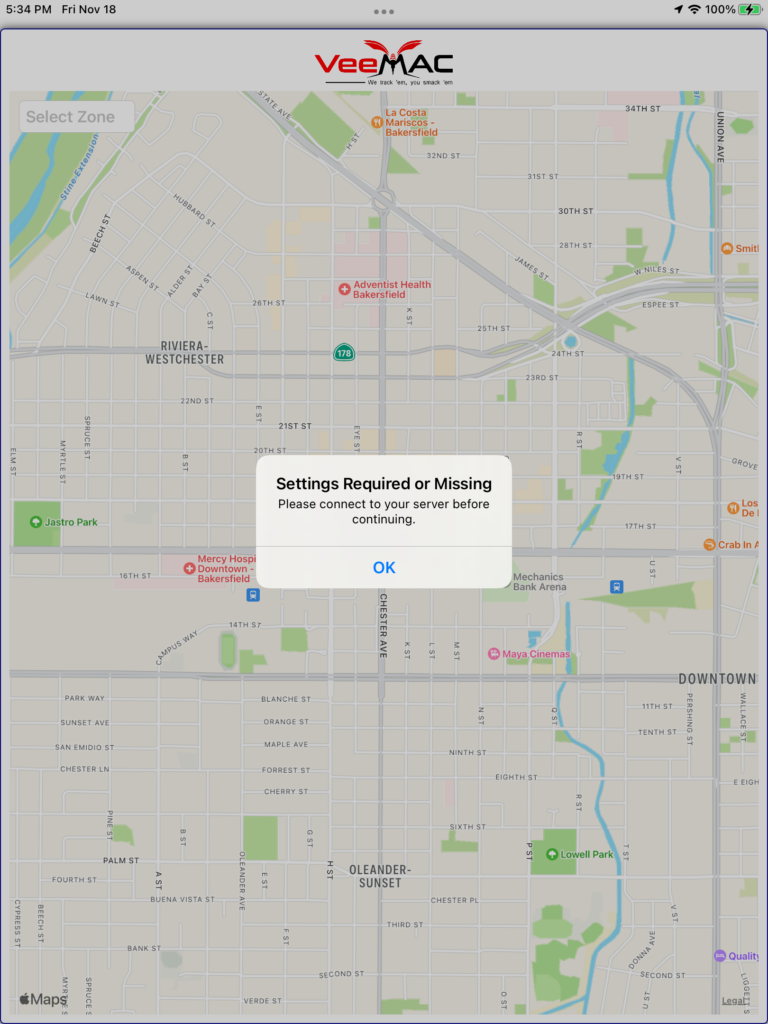
Next the user is prompted to connect to the system server to download the atabase. Select ‘OK’ when prompted.
The server connection screen is displayed next. This screen is used to enter the server IP and the Verification key. After entering this information select ‘Verify Key’ to connect to the server and to receive the node assignment.
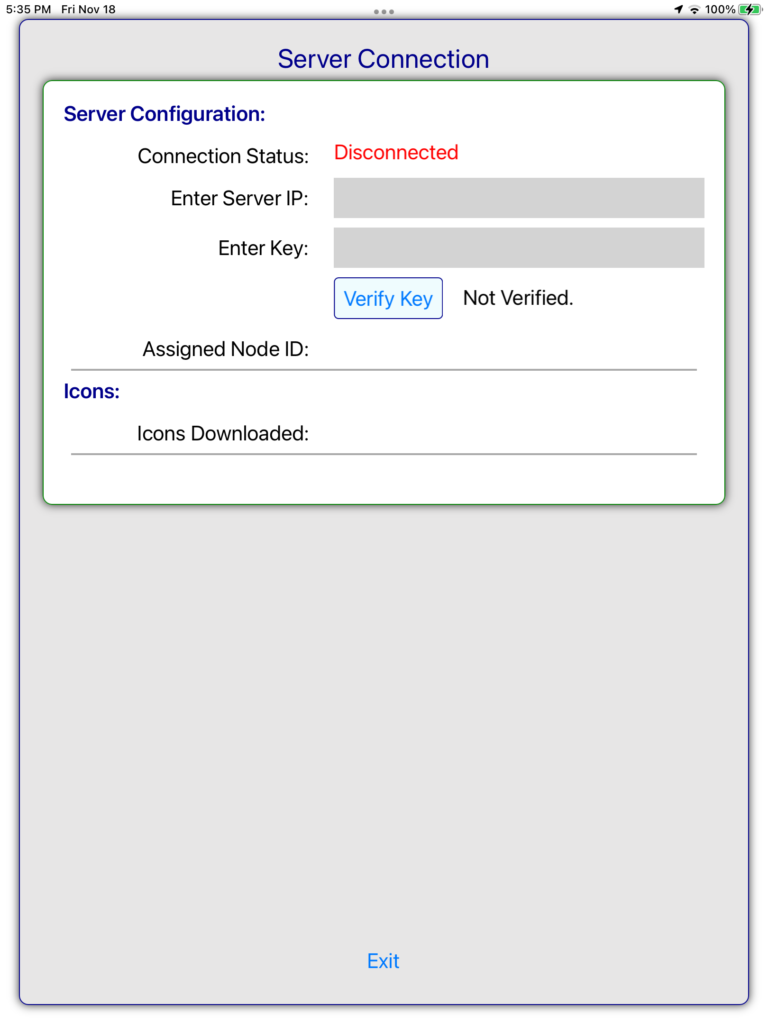
Once the key is server IP and key are verified, the “Initialize Database” button is visible. Select this button to continue the setup process.
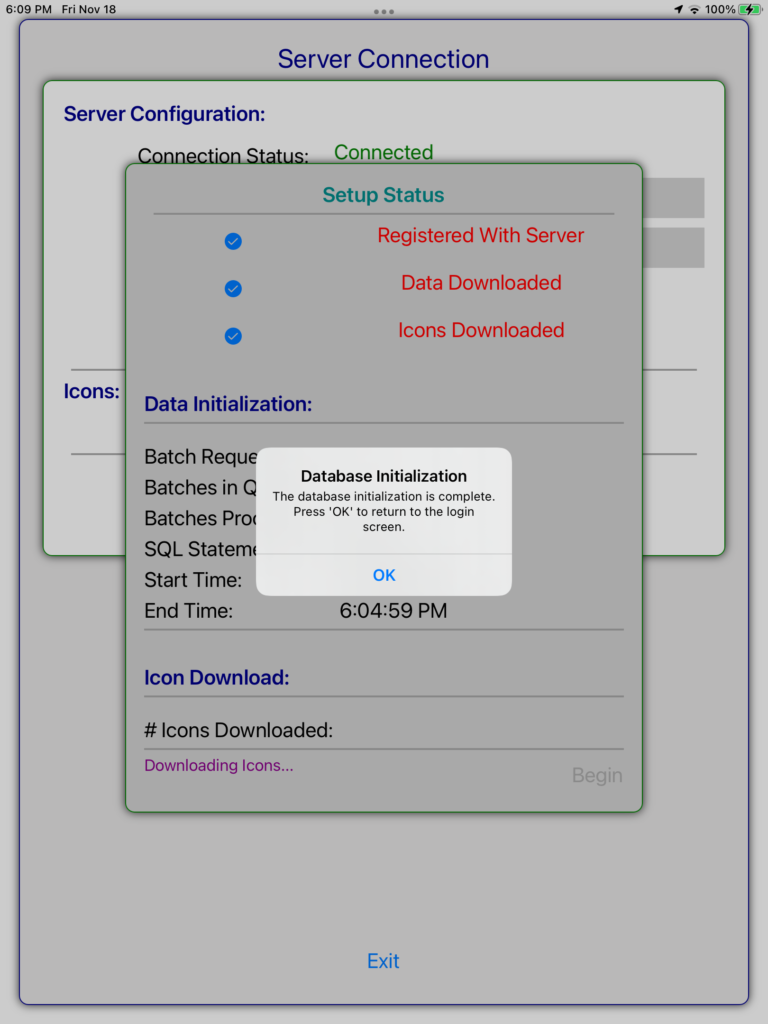
A popup is displayed next to track the initialization (database download) progress. Select “Begin” to start the process.
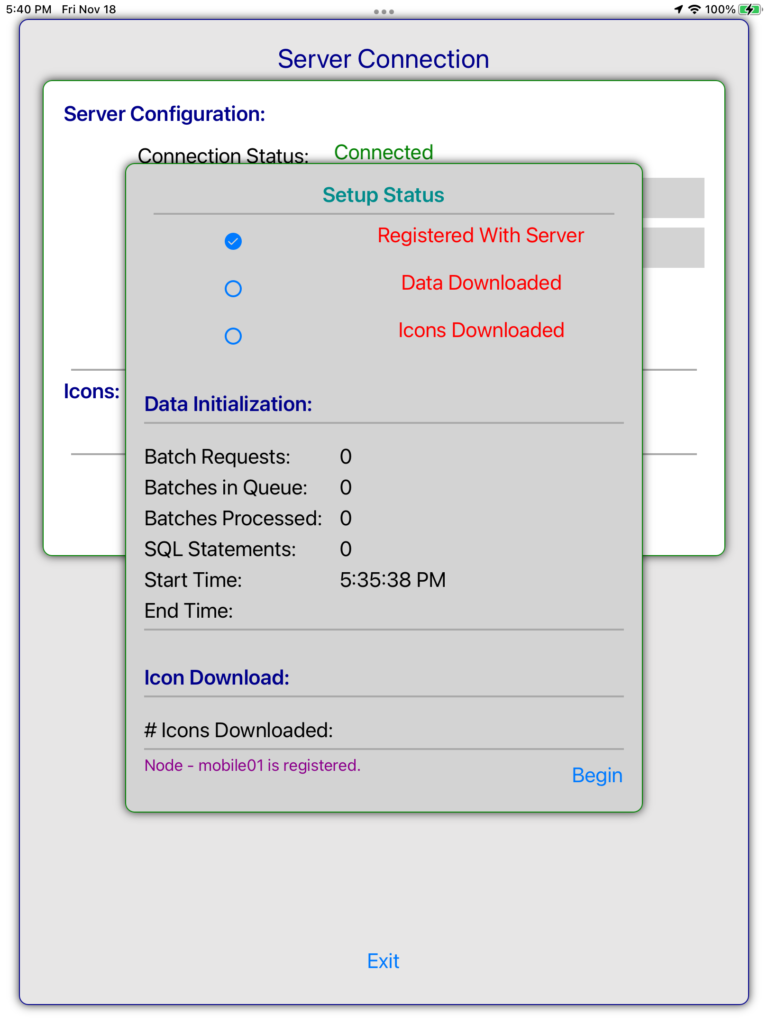
The download process will take approximately 20+ minutes. Icons used by the application are also downloaded. When the download is complete, a message is displayed. Select ‘OK’ to display the signon screen.
Enter the username and password using prompts to login.
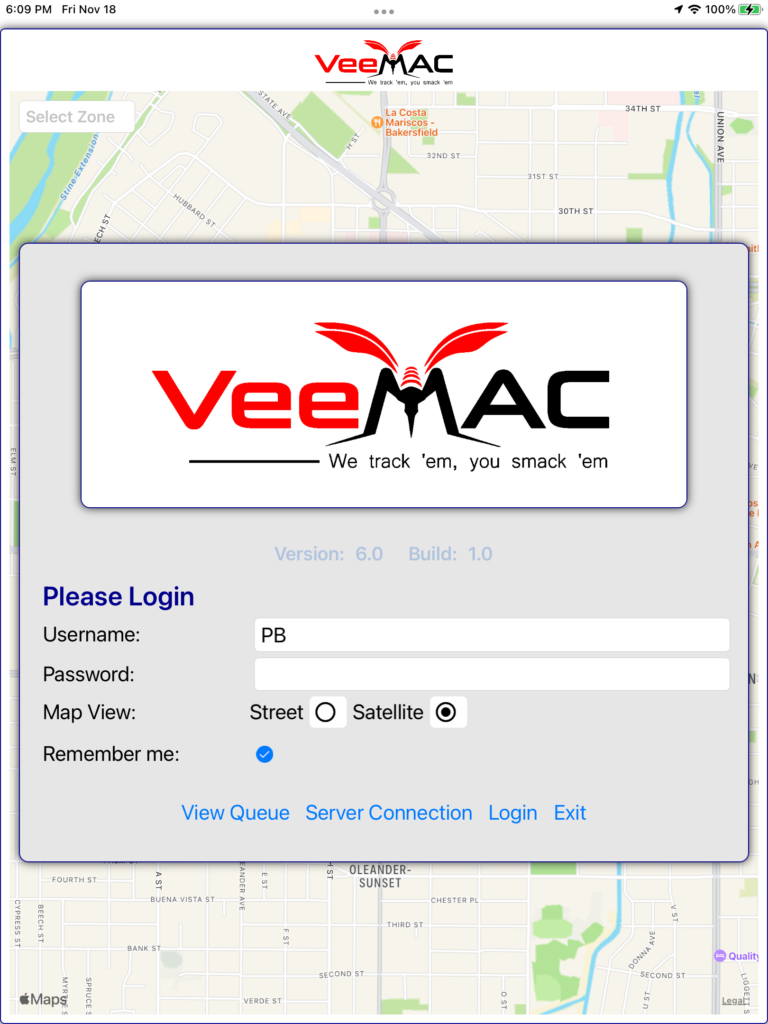
Enter the username and password to login. Optionally click the “Remember me” box to retain login credentials.